VM image
About the image
The Derecho team has chosen to provide an OVA file containing a VM image for use with the tutorial. You can download it here. Note that this VM is a 4.4 GB image!
This VM contains an Ubuntu 18.04 instance pre-installed with the Derecho Ubuntu packages the Derecho SOSP tutorial code, and the flower and pet models we’ll be using for the tutorial.
This VM was created and tested with VirtualBox 5.2.12, but should work in an hypervisor/VM manager so long as you can import OVA files.
The default username is sosp. The default password is sosp.
Downloading and installing: VirtualBox edition
You can get the VM OVA file here. To import the OVA into VirtualBox, launch VirtualBox and select the “Import Appliance…” option in the “File” menu.

This image, and much of this tutorial, originally appeared as a TechCrunch tutorial
You should see the specifications of the machine on this screen before you commit to the import:
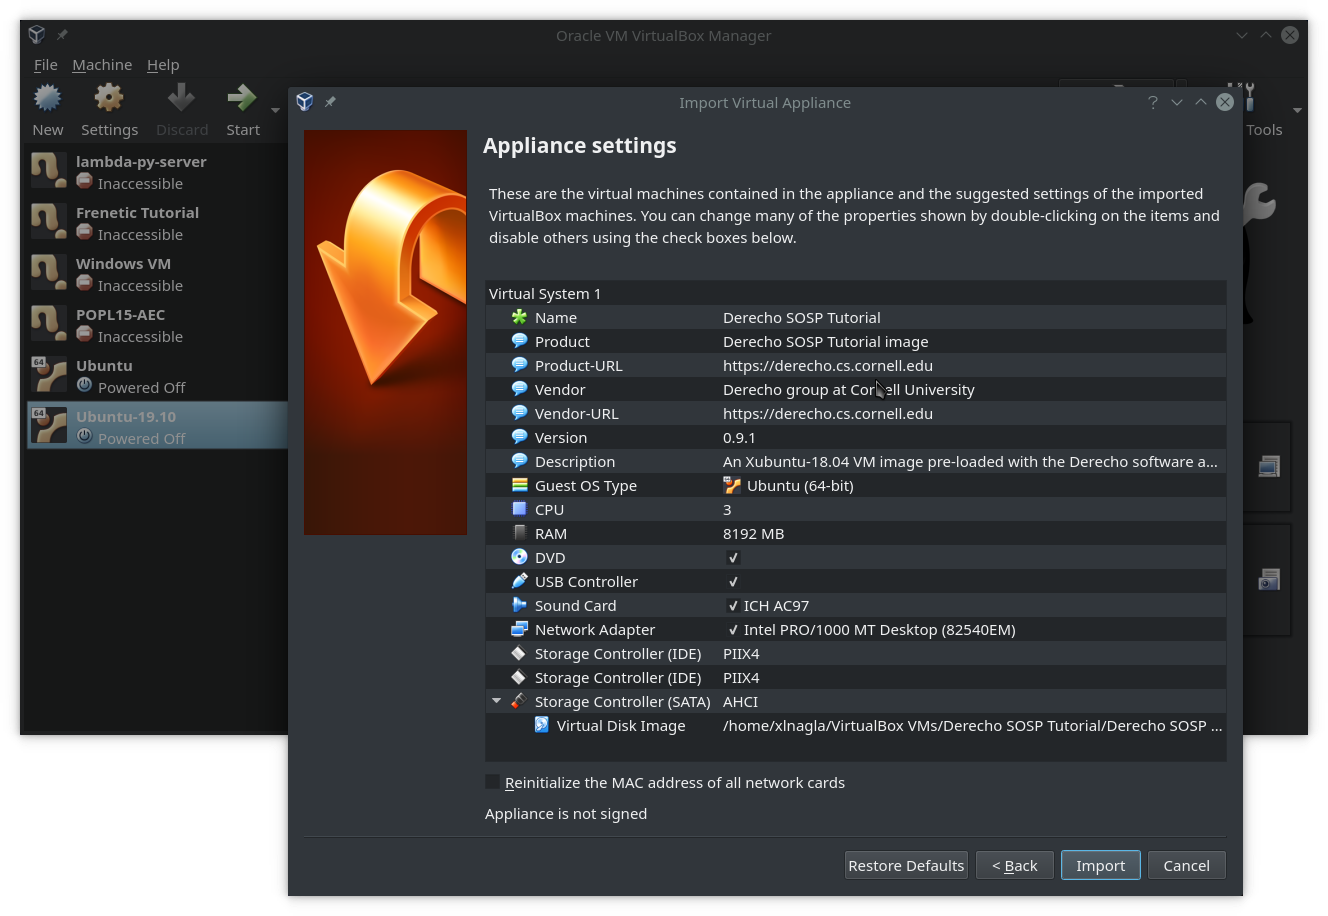
Follow the on-screen prompts, selecting default values for everything while ensuring the VM has at least three cores and at least 8GB of RAM available to it.
Running on resource-limited machines
This VM image has been configured to require 8GB of ram and at
least 3 cores. If your host machine cannot provide these resources,
then you can try to reduce the resource requirements—but your
mileage may vary. With fewer cores, the built-in tutorial server
scripts will fail to launch, requiring you to run the tutorial binary
directly. You may also experience random hangs and crashes due to
Derecho failing to allocate sufficient internal buffers to respond to
all messages. Derecho was designed to run on large, RDMA-enabled
datacenter machines with at least 16GB of free RAM and at least 4
cores. These settings do not match most virtual machines, and thus
the performance you experience on this VM will be … less than optimal.
Navigating the VM
Go ahead and start the VM from within VirtualBox. Once it has finished booting, you should be looking at a screen much like this one:
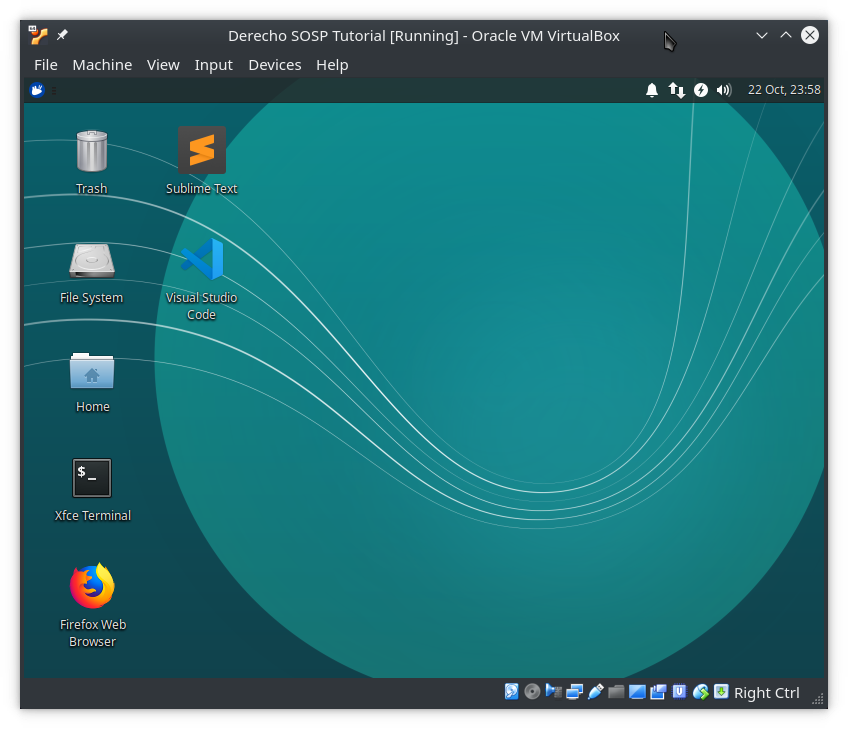
We’ve gone ahead and installed Sublime Text, Visual Studio Code, emacs, and vim on the VM, as well as all the dependencies necessary to run Derecho, for this tutorial. Feel free to install anything more you’d like, but be informed that this VM has only 4 GB of free space to play with. One of the things we haven’t installed on this VM is VirtualBox Guest Additions. This prevents the VM from resizing its screen above the puny resolution pictured here. Please feel free to install the guest additions yourself: this is a good guide for doing so. Please note that if you do choose to install VirtualBox guest additions, you will likely need to increase the video RAM available to the VM. This can be done while the VM is shut down from the VM settings window.
Entering the working directory
Open the Xfce Terminal application and navigate to the SOSP tutoral folder:
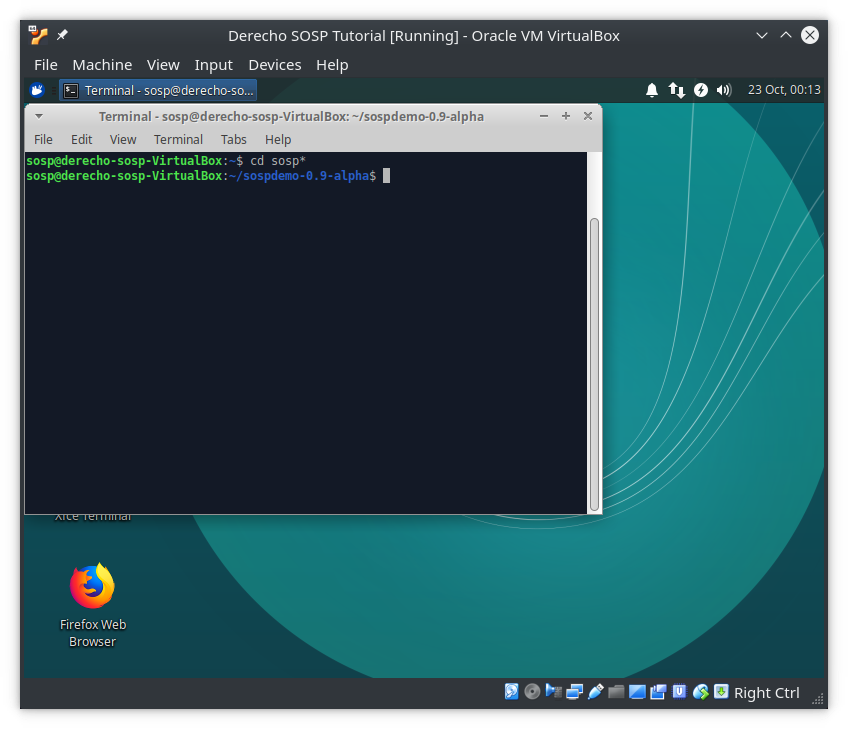
The name of this directory may not exactly match the image here depending on the version of the Tutorial VM you are currently using
Running the demo
Please proceed with the tutorial by going here—the rest of this section concerns non-traditional Derecho installations. Unless you’re really excited to learn about how else to install Derecho!